Why Thinking Ahead Saves You Headaches Later
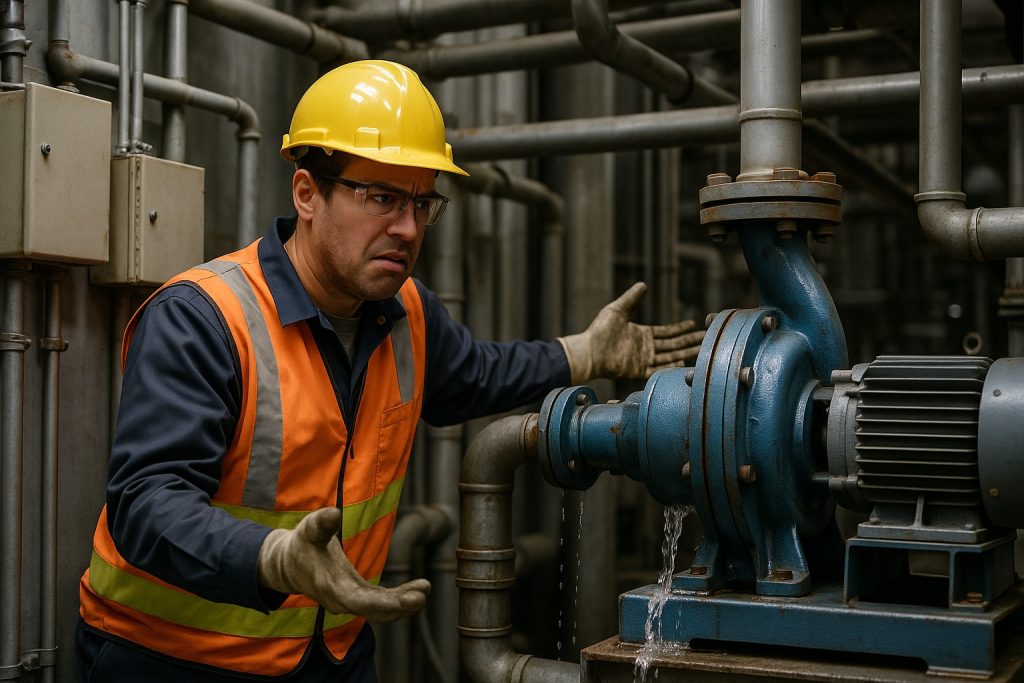
When installing a pump, most people focus on performance specs—flow rate, pressure, power supply, footprint—but one often-overlooked factor is maintenance access. And it’s not just a nice-to-have. Failing to plan for it can lead to downtime, damage, and frustration down the road.
Whether it’s a chemical dosing pump in a plant room or a heavy-duty slurry pump deep in a mine, the same rule applies: Install like you’ll be servicing it next week.
Here’s why, and how to do it right.
1. Plan for Physical Access
At some point, your pump will need attention—maybe a seal replacement, maybe a full teardown. If your installer has boxed the pump into a corner or placed it beneath a tangle of pipework, that job becomes expensive and painful.
Tips:
- Leave at least 300–600 mm clearance around the pump, depending on size.
- Ensure there’s vertical space above for lifting the motor or other heavy components.
- If the pump has long shafts or couplings, allow for horizontal removal length.
2. Allow Room for Tools and Hands
It’s not enough to just see the components—you need to reach them with tools. A mechanic shouldn’t have to be a contortionist to remove a bearing housing.
Checklist:
- Can you get a spanner around all major fasteners?
- Is there space to swing a torque wrench?
- Will a puller or alignment tool fit if needed?
3. Consider Safe Lifting and Handling
Many pumps weigh hundreds of kilos. Even smaller units can cause injury if you can’t position lifting gear.
Installation must-haves:
- Lifting points above the pump and motor (I-beams or certified hooks).
- Clear floor space for portable lifting devices or trolleys.
- Safe access paths to remove parts from site.
4. Think Pipework, Too
Rigid, misaligned, or overcomplicated pipework makes service jobs harder—and adds strain that can cause failures. Keep it clean and modular.
Good design practice:
- Use flexible couplings or rubber bellows where suitable.
- Include isolation valves, unions, and drain points.
- Avoid dead legs and loops that trap air or debris.
5. Service Manuals and Identification
Even the best installer can’t future-proof everything. But you can make things easier for the next tech on the job.
Smart moves:
- Mount the manual or QR code tag near the pump.
- Label the pump clearly with model, flow rate, and installation date.
- Log pump data in your asset register.
Final Thoughts
The best installations aren’t the tidiest or the cheapest—they’re the ones that can be maintained without drama. Every extra minute a technician spends trying to reach a coupling or work around a pipe bend is wasted time—and wasted money.
Next time you install a pump, take a few steps back and ask:
“Could I service this easily in a year?”
If not, go back and fix it now. It’s a lot easier than fixing it later.
Need help with pump installation best practices or planning a layout for long-term maintenance? Contact us — we’ve seen every kind of setup, good and bad, and we’ll help you get it right the first time.